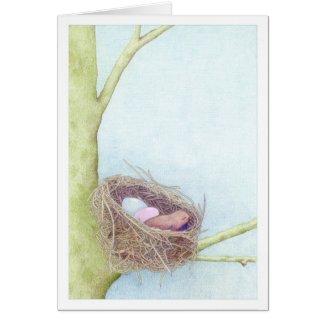
Showing posts with label DIY. Show all posts

Thursday, November 6, 2008

DIY - Thanksgiving Centerpieces

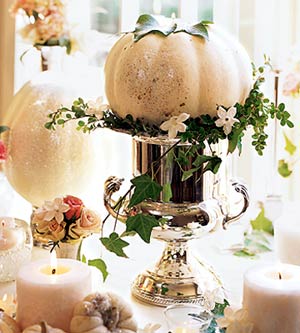
Keep in mind, NONE OF THESE will be on my Thanksgiving table.

I am too lazy to do anything so beautiful for just 4 people. However, I thought I would share some lovely ideas that I found on http://decorvillage.wordpress.com/


I especially love that White Pumpkin look!
Thanks for taking a peek!

Saturday, October 25, 2008

FAUX CARAMEL APPLES - Saturday DIY

Saturday DIY How to make Faux Caramel Apples!
FAT FREE is always good!

Here is a wonderful tutorial from Blogger, Janis Settzle, on how to make yummy-looking Faux Caramel Apples. I love how she made these and I think they would look so wonderful in a tall Apothecary Jar or on a pedestal stand!

She shared her method and recipe on these fat-free, guilt-free treats on her blog:

INGREDIENTS:

8 good sized faux apples that you find up in the attic in the Christmas boxes and of course they are in the last container you look in.

8 colored pencils or you can use dowels but I always use what I have sitting around.

8 different ribbon colors and patterns or I guess you could use all the same. Sometimes these can be found tied on or wrapped around other projects.

A good old heavy duty glue gun and lots of glue sticks. I tried my glue pot but it didn't work.

A bottle of craft paint that you have in the basement that looks like the color of caramel.

DIRECTIONS:

Wrap the pencils with the ribbon gluing as you go so it doesn't slip around.

Poke them into the apples in the top.

Drizzle hot glue around the top very generously so it will run down the sides in globs.

Let it cool

Make sure your glue gun is really warmed up and wait about 10 minutes before doing the next one.

Paint the glue with 3 coats of paint. Spray with clear varnish and glue a bow on.

Is she genius or what? Thank you, Janice for sharing this great DIY with Blog world!

Friday, October 17, 2008

Crafting 101 - FOUR CIRCLE CARD

Today's DIY is great for upcoming seasonal holiday cards as well as invitations or announcements .

I love unique shapes and designs for card-making so seeing this tutorial on E-How made it really easy to design something creative.

1. Start with four circles of even size. Use a circle punch or circle cutter to cut your circles. Make two circles of each color/design. Two dark and two light circles look great together


2. Fold each circle in half, then unfold. Make the creases sharp


3. Arrange the circles so they are overlapping, with the creases from the middle of the circles lined up in a square shape. Arrange them so the colors/designs are alternating.


4. Glue together the overlapping areas
5. Glue a square of cardstock in the center of the inside of the card, if you wish. Add a greeting or decorate the square.
6. Fold circles along creases, folding down in circular order. Enjoy this DIY and show me your pics!

Saturday, October 11, 2008

HOW TO - Generate your own Blog Banner


DIY this week will feature a way to make your own blog banner from Big Huge Labs. You can generate your own using their tool. I made the one above in like 3 minutes. Have Fun making some personalized ones yourself!

Thanks for stopping bye!

xoxox

Wednesday, August 27, 2008

BIRDS. NESTS. I love it.

To me, there is something so fresh and new about birds and nests.
I love the symbolisms that surround the images: Spring, Renewal, Home, Comfort, New Beginnings, etc.


So when I saw this stamp set at Barnes and Noble (I had been eyeing it for a while), I caved and bought it.

It was more than I wanted to spend on a stamp kit but I couldn't find any local stores that carried it other than B&N.

I can't wait to make tags, cards and other little paper treats with it! Can you think of any other great ideas to use these sweet stamps on? I'd love to hear your ideas!
I especially thought this would be great for the upcoming winter months. Gives me something to do and look forward to for Spring!
Thanks for stopping bye!
xoxo

Friday, July 25, 2008

How to add a Fancy Schmancy Signature to your Posts ~~

I thought this may be something special and personal to share with my Blog Buddies. I found this tutorial on how to add a personalized signature to your blog posts here.

As always, Thanks for reading!